How to Paint a Helmet: Planning, Masking, Safety
Plan a real helmet paint job: templates, masking, materials, keeping the shell and certification intact, when to use a pro painter, and when to wrap.
Published 7 min read
Contents
Painting a real helmet is part design job, part safety question. The design side is about planning every view before any paint is mixed. The safety side is about keeping the shell, the liner and the certification intact. This guide covers both, and when a vinyl wrap or a professional painter is the better choice.
What can go wrong, and the rules
The main risks come from chemistry rather than technique:
- Shell material. Composite shells (fibreglass, carbon, aramid) are generally painted by specialist helmet painters. Injection-moulded thermoplastic shells, common on cheaper road, kart and cycle helmets, can be weakened by solvents and are usually not suitable for painting at all.
- The liner. The expanded polystyrene liner inside the shell does the real impact work, and many solvents attack it. Overspray and even fumes getting inside can damage it, so every opening must be sealed.
- Heat. Paints that need oven or heat curing should not be used on a helmet; heat can damage the shell and liner.
- Mechanisms and labels. Paint in visor pivots or ratchets can stop them working. Certification labels, serial numbers and any homologation stickers must stay visible and must not be painted over.
For car racing, the FIA's Appendix L says that where a helmet manufacturer gives guidelines or restrictions on painting or decoration, they must be followed, using only the paint types the manufacturer specifies and preferably a painter with their approval. It also warns that injection-moulded shells are usually not suitable for painting and that heat-cured paints should not be used. National bodies publish the same advice; check your own series' rules and your helmet's manual before you start.
Painting a new helmet may also affect the manufacturer's warranty or returns policy. Check before you spend money on paint.
Plan the design in full first
Paint is slow and hard to undo, so every decision should be made before the first coat. A finished plan answers:
- the exact colours, ideally as physical paint samples rather than screen colours;
- where every line starts and stops, including how stripes cross from the sides over the crown;
- what goes on the chin bar, the back and the visor strip;
- which parts are paint and which will be decals or vinyl (small sponsor logos are usually stickers under or over the clear coat);
- where the labels, vents, pivots and seals are, so the design works around them.
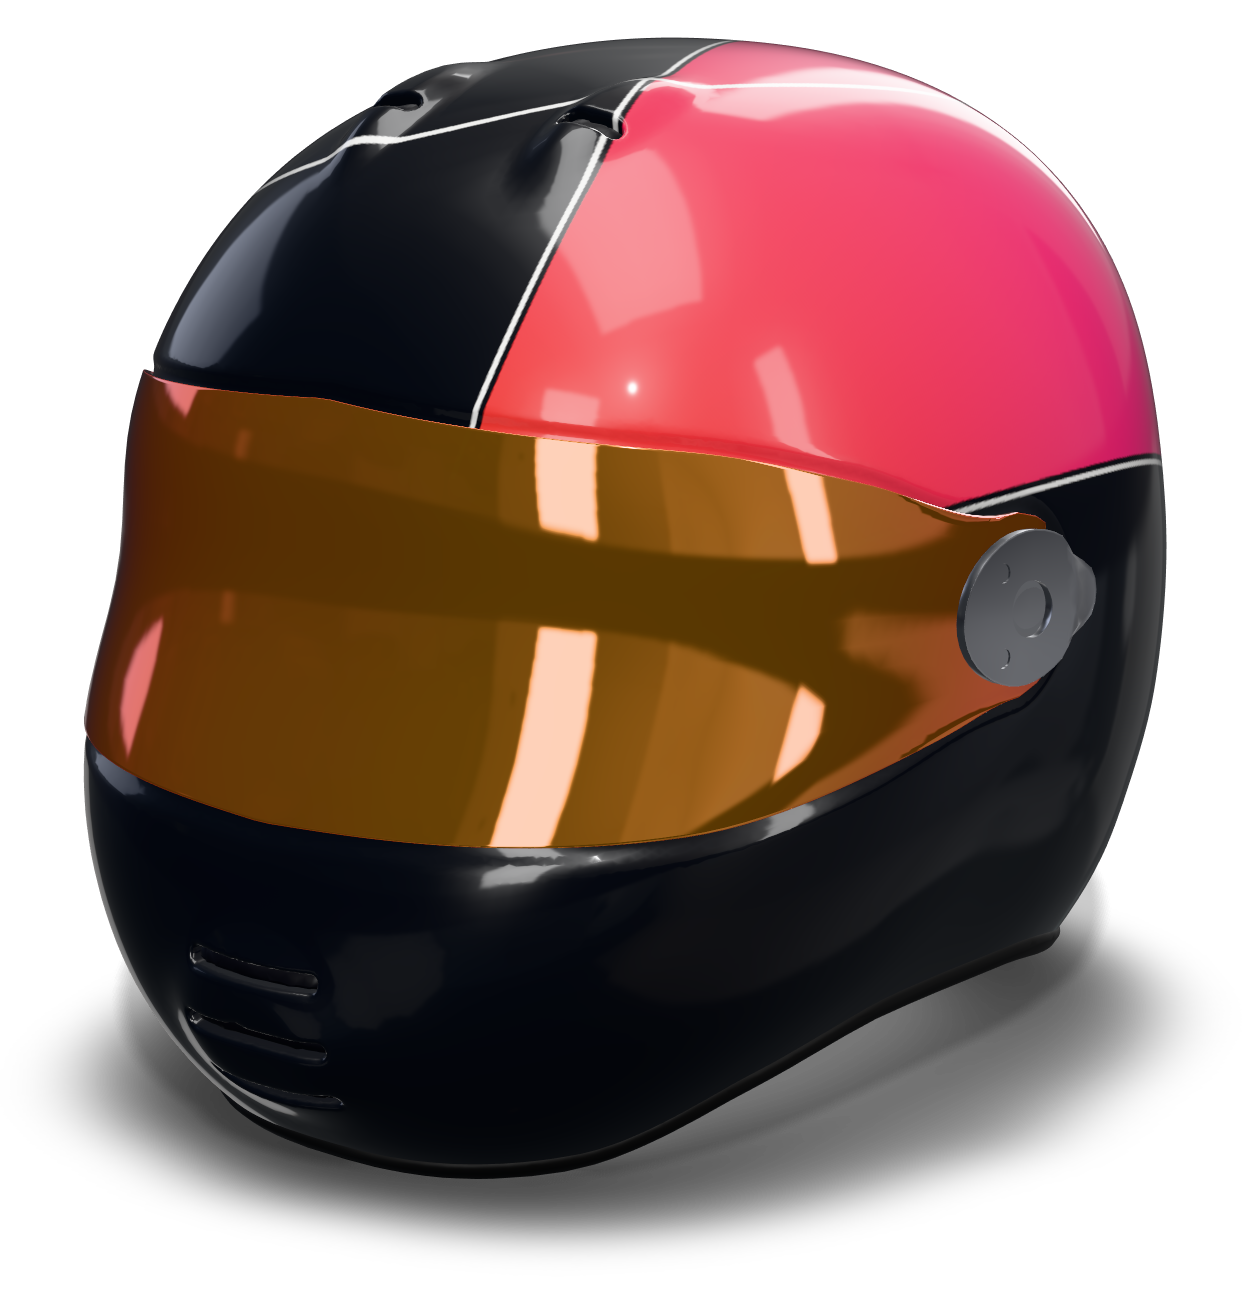
Designing in 3D helps with the hardest part, which is seeing how flat ideas wrap over a curved shell. In Helmet Designer you lay the design out on five views and check it on a live 3D shell, then share a link your painter can spin in a browser. Use the shell that's closest to your helmet: GP full-face, kart full-face, road-race motorcycle, motocross or open-face.
Use a printable template
A paint template is the design laid out flat: side, top, front and back views at a consistent scale. Painters use it to transfer key points onto the shell and to check proportions as they go. It also makes quoting easier, because the painter can see every view at once.
The editor's export menu includes a printable paint template with all five orthographic views on one sheet (a Pro feature). If you'd rather sketch by hand, the free printable helmet templates give you blank outlines for each shell to draw on.
Remember that a template is a guide rather than a stencil. A helmet's curves mean a flat drawing never transfers perfectly, and the painter will adjust lines by eye on the shell. That's where the 3D view is useful: it shows the intent of a line better than the flat drawing can.
How a helmet paint job is done
Painters' methods vary, but most custom helmet work follows the same broad order:
- Strip the removable hardware. Visor, pivot plates and any removable trim and vents come off where the manufacturer allows it. The interior comfort lining comes out. Don't dismantle anything the manual says to leave in place.
- Seal the helmet. The opening, vents and any fixed hardware are masked and sealed so no overspray or fumes reach the liner.
- Prepare the surface. The existing finish is cleaned, degreased and lightly keyed with a fine abrasive so the new paint adheres. This is done carefully: the aim is to key the surface, not cut into the shell.
- Mask and spray in layers. The design is marked out, usually with fine-line tape for curves, then colours are sprayed one at a time. Light colours generally go on first, then are masked over before darker ones, because light paint covers dark poorly. Fluorescent colours usually need a white base.
- Decals and detail. Pinstripes, logos and lettering are added, as paint or as decals.
- Clear coat. A compatible clear lacquer protects the paint and sets the finish: gloss, satin or matte.
- Reassemble and check. Hardware goes back on, the visor is checked for smooth operation and a proper seal, and labels are confirmed visible.
A multi-colour design can take many hours of masking, which is why complex helmets cost far more than simple ones. If budget matters, a design with fewer colours and fewer crossing lines is cheaper to paint.
Materials, if you do it yourself
If you're painting a helmet that won't be used for racing, such as a display helmet or a prop, or you've confirmed your helmet's manufacturer allows it, the usual kit is:
- paint of the type the manufacturer specifies (air-drying acrylic or polyurethane systems are typical), from a single system so primer, colour and clear are compatible;
- fine-line masking tape for curves, wider masking tape and masking film for large areas;
- fine abrasive pads or paper, degreaser and lint-free cloths;
- a respirator rated for paint fumes, gloves and good ventilation, especially with two-pack products;
- a test panel or an old helmet to practise on.
Test every product on a hidden area or a scrap piece first. If the existing finish wrinkles, softens or lifts, stop.
When to use a professional
For any helmet you'll race in, a specialist helmet painter is the sensible choice. They know which paints suit which shells, how to protect the liner and labels, and how to finish a helmet that will pass inspection. Many motorsport helmet painters will work from a shared design link and a template, which saves time and reduces back-and-forth over the details.
When you brief a painter, send the 3D link, the template, the exact colours (paint codes if you have them) and a note on finish. Ask how they handle certification labels and whether the manufacturer approves their work.
When to wrap instead
Vinyl wraps and decal kits are popular in motocross and on road helmets, and sometimes used for karting. A wrap is cheaper than a complex paint job, can be removed or replaced, and avoids spraying solvents near the shell. The trade-offs are that vinyl is harder to lay over tight compound curves, seams are visible up close, and it can lift at edges and vents over time.
Wraps still need care. Check what your manufacturer says about adhesives and decoration, keep labels and vents clear, and don't cover anything that needs to move. The motocross graphics guide covers kits versus paint in more detail.
Common questions
Can I paint my own motorcycle or racing helmet?
Only if your helmet's manufacturer allows it, using the paint types they specify. Some shells, especially injection-moulded thermoplastic ones, are usually not suitable for painting. For a helmet you race in, use a specialist helmet painter.
Does painting a helmet void its certification?
Paint that damages the shell or liner can compromise protection, and a poorly prepared helmet can be rejected at scrutineering. Following the manufacturer's guidance, sealing the liner and keeping labels visible are essential; check your series rules too.
Is a vinyl wrap safer than paint?
A wrap avoids spraying solvents near the shell, but it still needs to suit your helmet. Check the manufacturer's guidance on decoration, and keep labels, vents and moving parts clear.
Related guides
Design basics · 7 min
How to Design a Racing Helmet, Step by Step
Plan a racing helmet design that works: concept, colours, the five zones of the shell, numbers and text, finishes, and checking every angle in 3D.
Read the guideColour · 6 min
Choosing Helmet Colours That Read at Speed
How to pick helmet colours: contrast, visibility on track and on camera, schemes that work, and when to use gloss, matte, metallic or fluo.
Read the guideMotocross · 6 min
Motocross Helmet Graphics: Designing for MX
Design motocross helmet graphics that suit the shape: the peak, chin bar and vents, graphics kits versus paint, and where to put your number.
Read the guide